

Making a debris shelter is a very personalized thing. One has to make them several times to get the specifications fit to one’s spacial/dimensional needs.
Site selection is also very important. I chose an area that was on a bit higher ground than the surrounding area to prevent water running into my shelter and flooding.
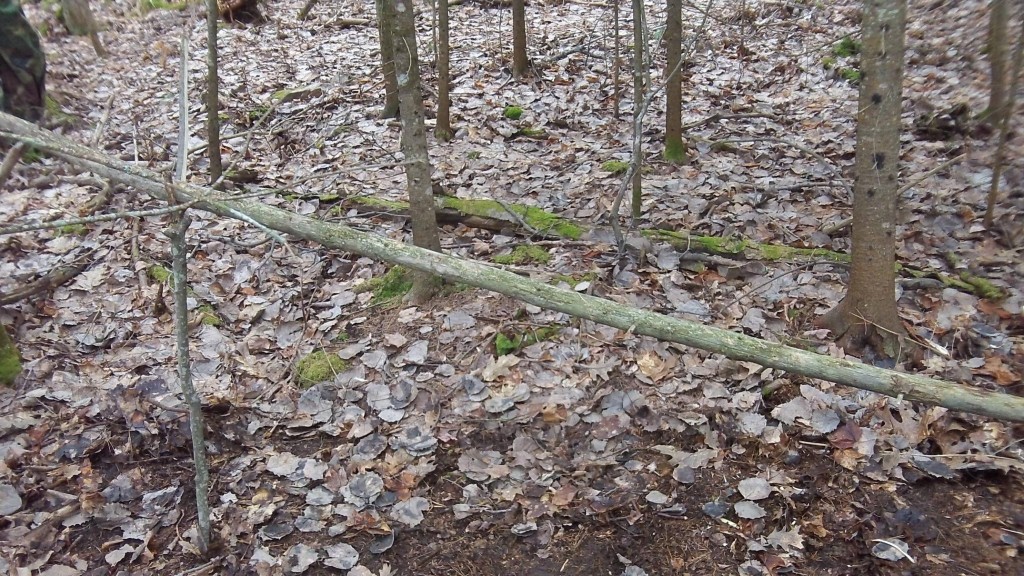
First I find a “Y” stick that is about as tall as my waist and a ridge pole to run from the Y stick that is perhaps 2-3 feet longer than I am to make sure I can fit in. If one wants to be super efficient, the narrowed spot that one can’t fit in should be filled in with leaves.
This is my just over waist high Y stick with the ridge pole.

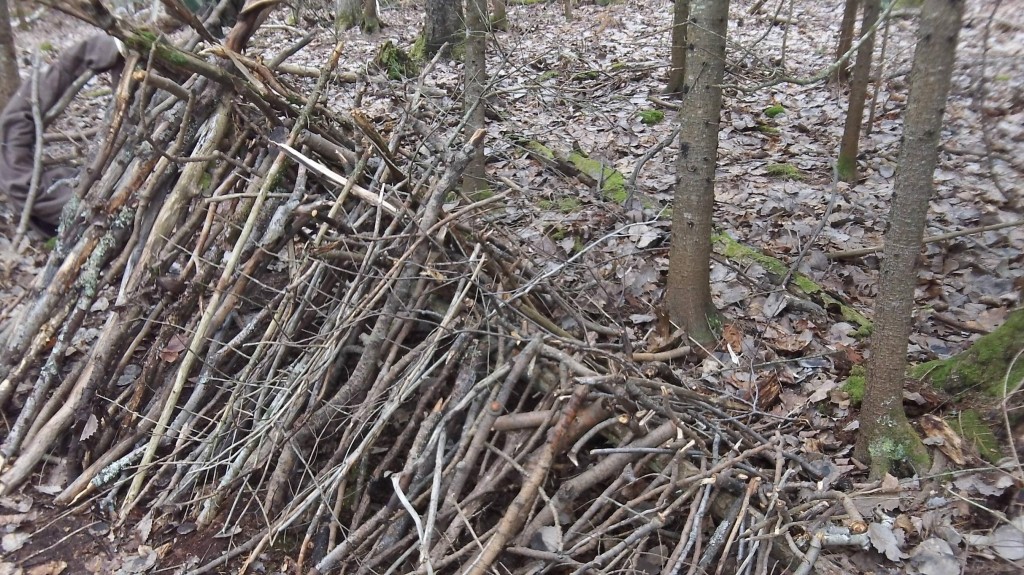
Begin filling in the skeleton. I like to make sure the sticks are filled in quite thick. I have seen people do it with less sticks, but in my opinion, this will prevent leaves from falling in as well as as further protect one from the elements, especially the wind. The more one adds and more time one spends on it the better it will be.
Beginning to fill in skeleton.


Further filled in side-view

Rear view
Front view of the skeleton

From here one begins to pile leaves on top of the structure. The more the better. The general rule is that one should have enough leaves that one can stick one’s arm up to the elbow into the leaf pile. Place some “leaf stabilizing sticks” on top of the leaves. This doesn’t have to be as intricate as the structural skeleton. It will serve the purpose of preventing one’s leaves from blowing away.
A finished debris shelter will be about half arm to full arms’ deep with leaves. This will help insulate the inhabitant and further help to waterproof the shelter. There is a pile of leaves on the bottom left corner of the shelter that will be pulled in with the dweller to help plug the shelter and help prevent the escape of heat.

It is not only the outside environment that can strip you of your heat. The ground itself will suck the heat out of you if you do not insulate yourself from it. Cover the floor of the shelter with leaves, ferns, pin boughs, etc to really protect yourself from losing heat to the earth itself.
To sleep in a debris shelter, one crawls into it backwards and (typically) face down. Gather a bunch of leaves at the doorway so that when one crawls in, the leaves can be pulled in as a “plug” and further keep heat in.
Minimizing space in the debris shelter is the name of the game. I want a little bit of dead air space and enough space so that I can move just a little bit. If I have more space than that, my body will be heating all that extra air, which is less efficient. If it is a cold nigh, one’s clothing could even be filled with leaves to help further insulate body heat.
The choice of location also too into account all of those trees that surrounded the area. They were not big enough to fall on me and hurt me (widow makers weren’t there), and they also added a nice canopy to further protect me from the rain and break up the wind.